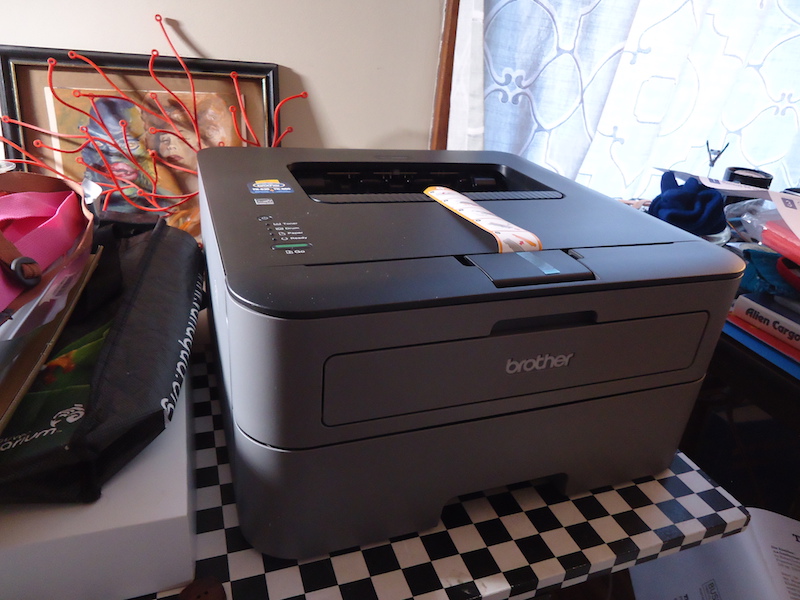
Faced with the task of actually running a home office, I realized that I had to get a printer.
Not having purchased one in the last 15 years, I rather forgot the ritual of trying to understand the diagrams about setting the device up, like pulling the toner tray out.
Just for the heck of it, I documented the process with some snapshots. Who knows, maybe there is some wayward soul out there, who just happens to be setting up their HL-Laserjet 2320D and now you have a photo guide!
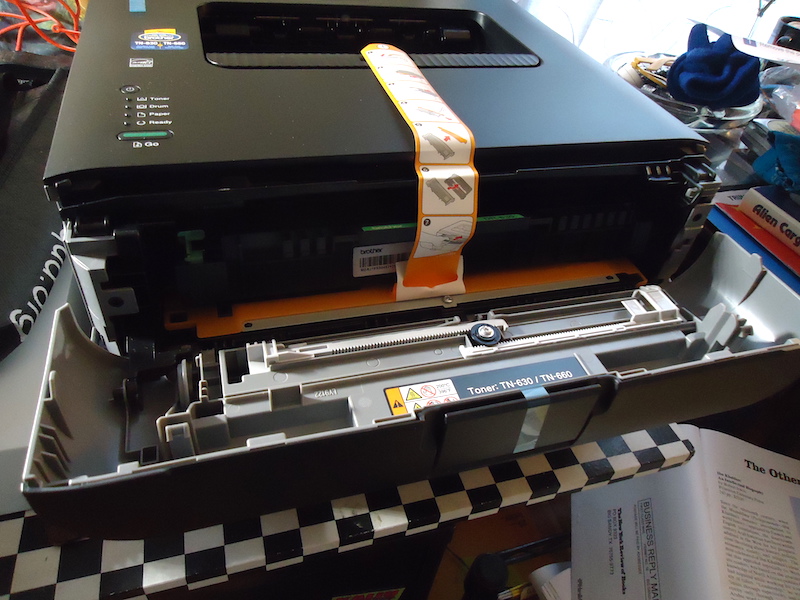
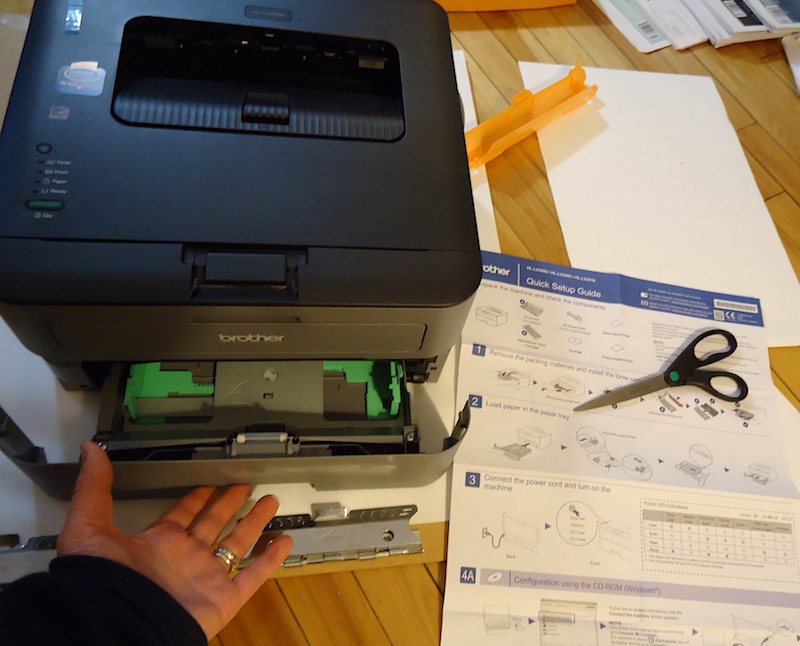
The first thing you do is pop open the top half of the front side, which is where the whole toner tray is mounted.
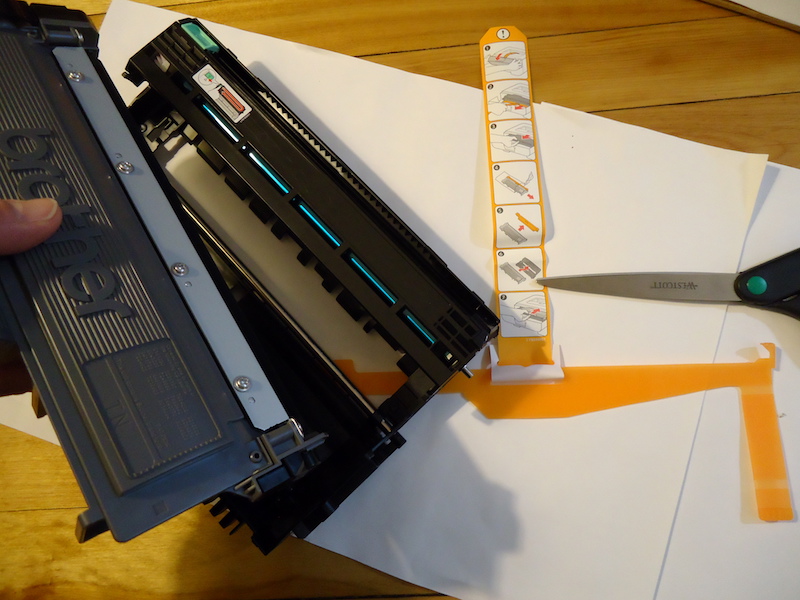
Fold the paper flap that has convenient icon-sized instructions on it off the top of the machine and out of the way of the toner tray. Then grasp the green toner tray handle and slide it outwards from the printer. A few clicks are normal.
Pull the toner tray completely out of the printer and put it aside.
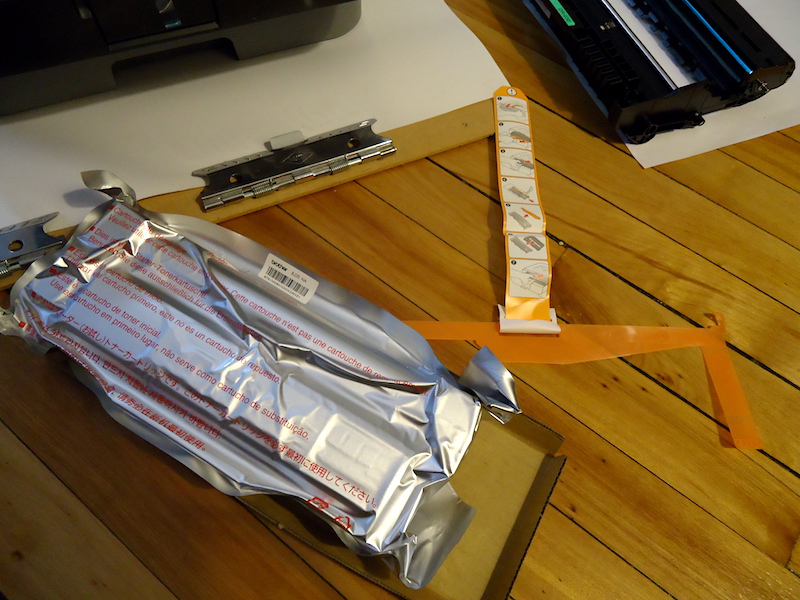
Once the toner tray is out, remove the entire orange plastic clip, and find the new toner package.
Cut open the toner package (near the indentation on the edge) and tear off the top.
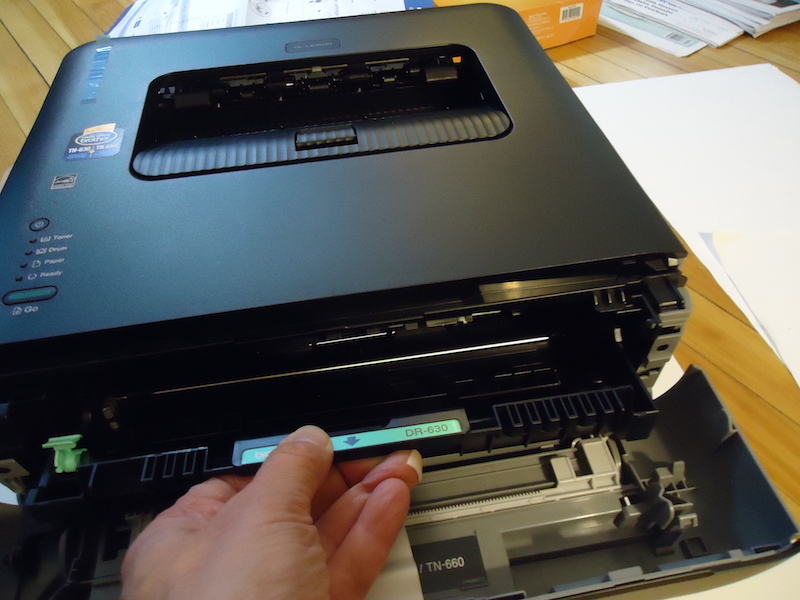
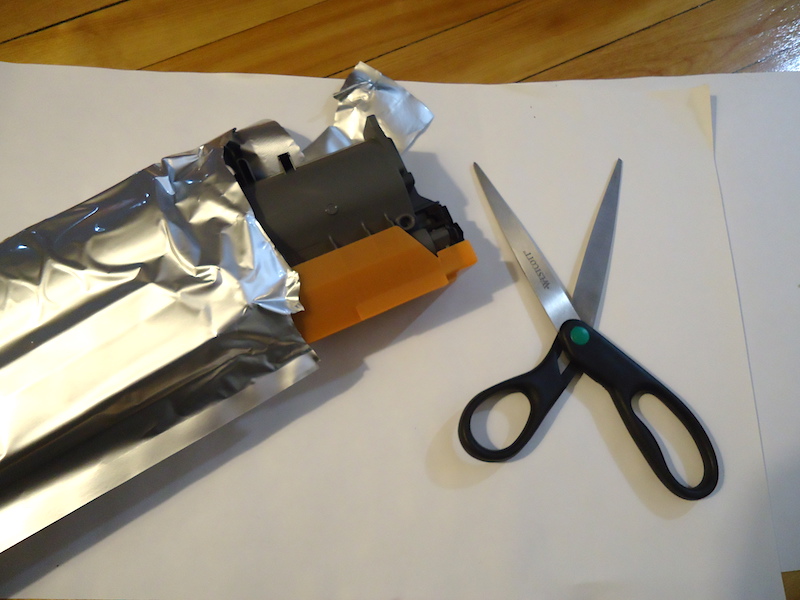
Once the toner is out of the package, slide the orange cap on the side of the toner roller off.
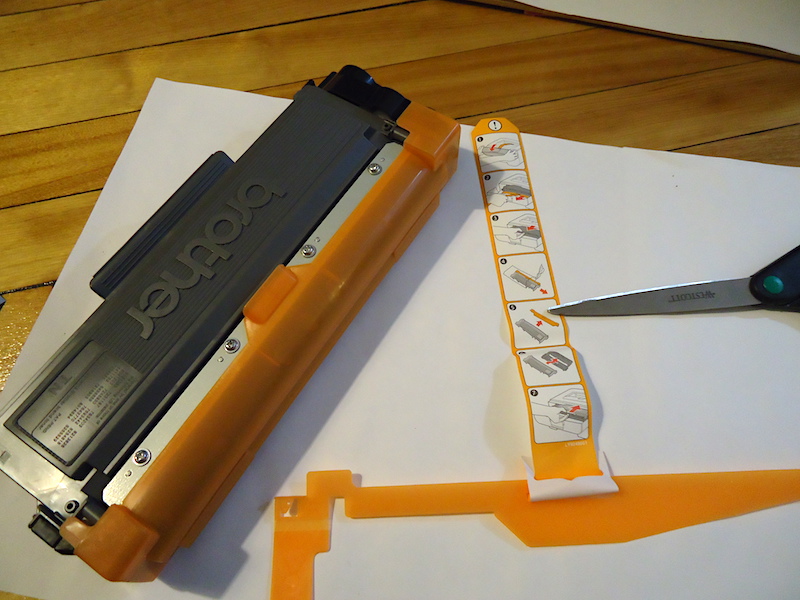
Once you have the fresh toner roller exposed, you want to mount it directly into the toner tray that you hade removed earlier.
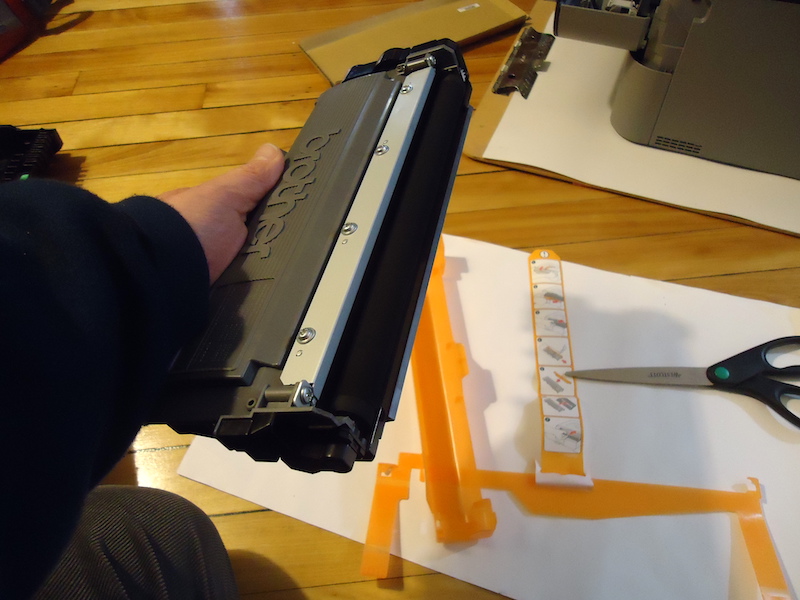
The roller on the toner cartridge will press against the roller in the toner tray. It should slide in and click into place.
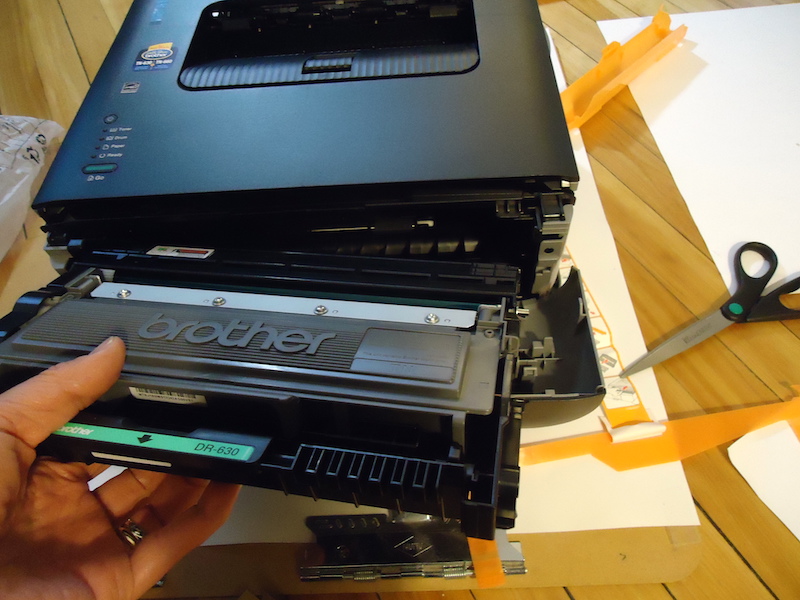
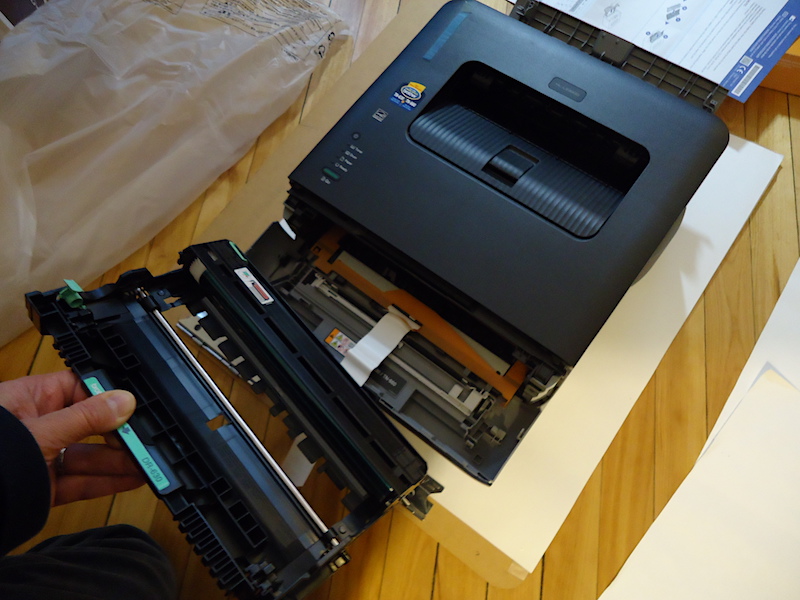
Once the toner is completely inserted and locked into the position inside the toner tray, the toner tray can be loaded back into the printer body.
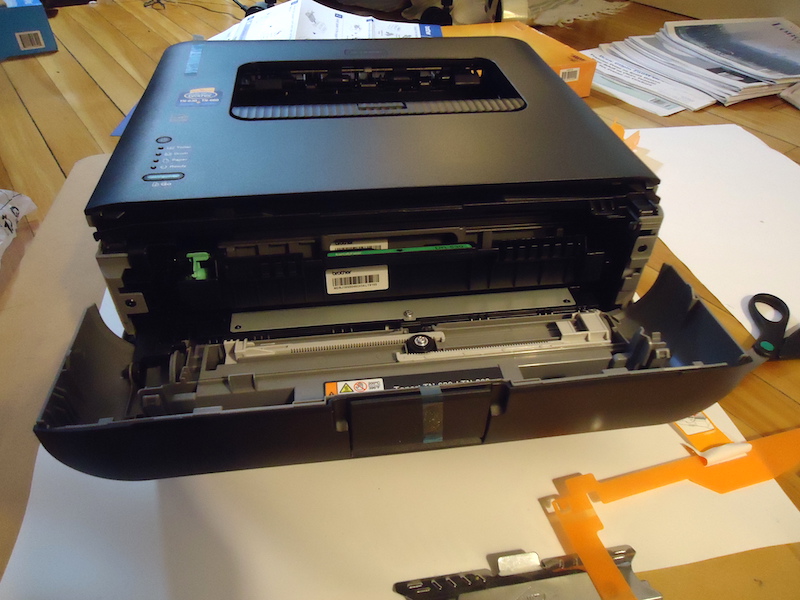
The toner tray should click back into place. Don’t force it to fit, just wiggle it and it should align properly then engage properly inside the printer.
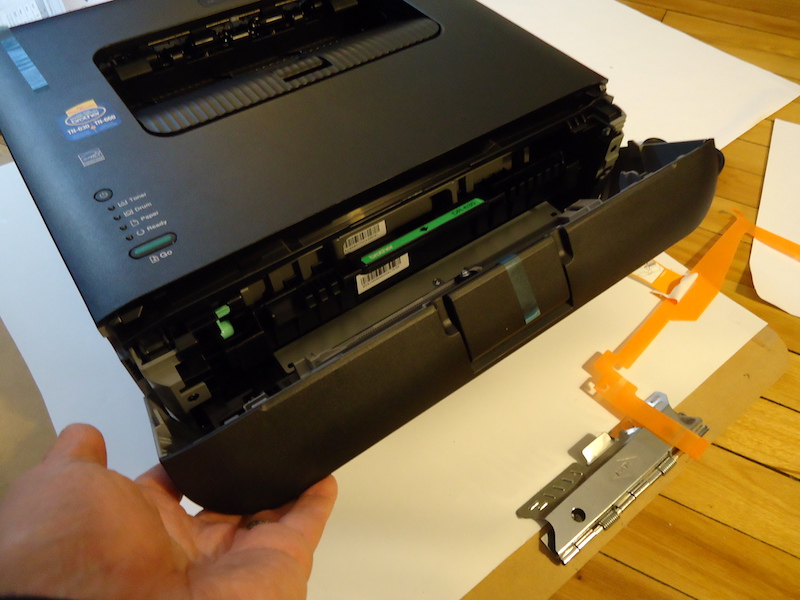
Snap the front cover back into place.
Below the front cover, is the paper tray. Gently pull on the slot at the bottom of the tray until it pops open.
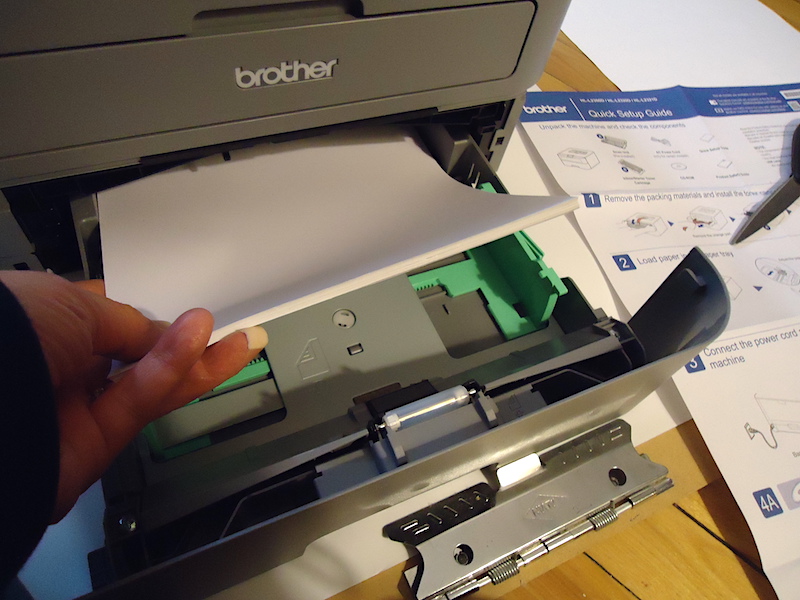
Load some paper into the tray. Then slide the paper tray back into the printer until it snaps shut.
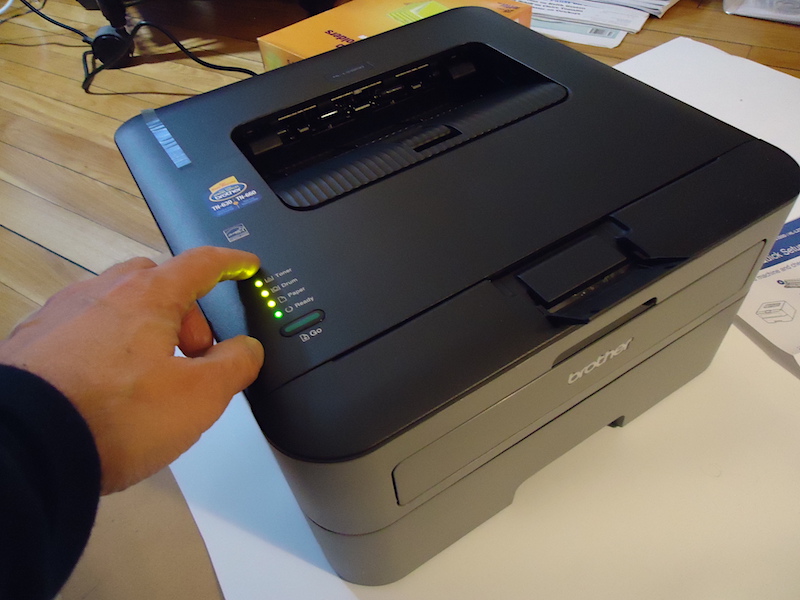
Now ready to POWER ON! At this point, I plugged a USB cable into the printer and a Macbook Air laptop. (Note: there was no cable in the box, but I have plenty in my cables bin.)
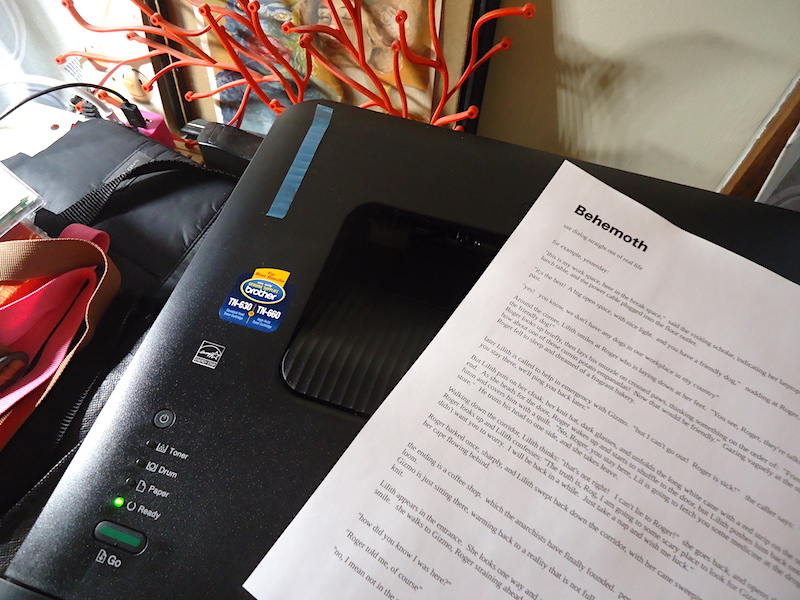
Then, with the proper driver installed on Mac OS X 10.13, the LibreOffice Writer document was able to locate the new printer by default, and a perfect document was printed on the first click!
Later, I found that I sent a document to print, but had neglected to boot the printer up. When I powered up the Brother and connected the USB, the document had been spooled somewhere, and it printed by itself!
All in all, the new printer experience went much better than expected. (And yes, I deliberately wanted the cable connection model, not the wireless model.
And now I’m convinced that was the right way to go.
I named my printer after the cat in Bulgakov’s Master and Margarita. As Behomoth said: “I shall be a silent hallucination.”
Happy printing.